A little still life I did of some Halloween decorations. Painted in gouache in my watercolor sketchbook. I tried a random pre-painted background of acrylic red, Then black, white, yellow ochre and I think burnt sienna. I tried to only use warm colors and let the black and white fill in for the cooler colors. I remember looking at the purple fabric underneath everything and having no idea how I would paint it. Its a little red (burnt sienna) mixed with the black and white. I think it looks purple. I was very happy about that, it felt like magic.

Showing posts with label Process. Show all posts
Showing posts with label Process. Show all posts
Sunday, November 6, 2016


Friday, November 4, 2016
The Gardens of Selene
 |
| Gardens of Selene |
Some close-ups:
Here's a painting I just finished. A few people asked me about the process, so I wanted to show a few of the steps on here. |
| monks and swans detail |
 |
Step 0:
I basically wanted some huge archways overlooking the ocean, very open and plenty of plants. I got the idea of an inside gardens/ plants with big architecture from Biltmore after visiting a few years ago and have been thinking about it ever since. It slowly got more and more Roman. I started developing a story and a setting as I was working, so certain things began to make more sense than others.
Step 1:
Quick thumbnail sketches. I did a few more, but they're all just very sketchy.


Step 2.
After some research, I built a 3d model in Sketchup and played around with a few different viewpoints.

Step 3.
More sketching. Playing around with lighting and color, also materials and decoration etc.


Rough drawing over the 3d model, just trying to start deciding on things.

Step 5.
Finished drawing over the rough drawing. Although even the finished drawing is pretty rough. I knew I would change a lot later. I didn't bother with people or plants yet because where I put those would probably depend more on color.

Step 6.
Quick black and white sketch to figure out lighting (again) I liked this lighting better than the soft lighting of my earlier sketches.

Step 7.
I built a little model out of cardboard, Sculpey, and some grill skewers (?) that I found, then painted it and brought it outside. Snapped a few pictures and just stared at it for a long time, also tried a few different angles.


Step 8.
Shadow perspective. Because I did the shadows with a real model, I had to map them out in perspective myself. I think most artists probably do this in the 3d model, because its much faster. I kind of just wanted to test myself and do it manually.

Step 9.
Gather tons of reference for everything. Although I had been doing this the whole time, I like to try and have as much as I can ready so I don't have to keep stopping during the painting... of course that happens anyway though. This is my file in PureRef, a reference program.

Step 10.
Paint. Erase. Sketch. Paint. Delete. Edit. Paint. Paint. Rage Quit. Paint. Finish. Paint again. Paint. Edit. Finish. Sketch. Paint.
I like to just paint on one layer except for the greenery and people so I can move them around. So 3 layers, and I do that all under a slowly disappearing finished drawing. I turn on the perspective layers as needed too. Towards the end I added a couple other fancy layers.
Let me know if you have any other questions about the process in the comments.
Wednesday, April 13, 2016

Thursday, October 15, 2015
3d print Model
I've been working on the second cornhole board painting for awhile. Here's a 3d print my brother made for me of the New Horizons probe. I was checking it against the drawing to make sure I got it pretty close (I think I changed it a little after this picture) and later I used it to help with lighting.
 |
| 3d print of the New Horizons probe next to the underdrawing |
Thursday, June 25, 2015
Mars Cornhole Board Process Part 4: The Painting
The Painting...
After I sealed the drawing with acrylic matte medium, I put down a few thin layers of acrylic paint. On top of that I pretty much just painted background to foreground. Mostly using thin paint at first and then thicker paints later, using my color comp and tonal as guides and changing whatever I think could be better as I go.


 |
| My studio becomes a mess whenever I paint. |
 |
| you can see the oil paints in the background, and the acrylic in the foreground. |
I think it took me about a month of painting after I finished the drawing. I mostly used Liquin and Gamsol to mix with the paints. Sometimes when i need to paint on top of something that isn't super dry and I'm afraid will pick up, I put down some retouch varnish and that seems to protect whatever's underneath. I did that a lot on this painting. Hopefully it won't burst into flames someday from all the weird chemicals and rushed drying times. I guess at the end of the day this is just a cornhole board, so I can't be too worried about the ill effects of sloppy oil paint procedures.
 |
| slowly getting covered in oil paint. |
Here's the finished oil painting. The whole project took me about 3 months. There was a lot of time spent learning technical things, hopefully the next one will go by a bit quicker. I have one more to make the set. Here are some close ups of the finished painting, shot with my iPhone... I should probably get a better camera.


The whole project took me about 3 months. There was a lot of time spent learning technical things, hopefully the next one will go by a bit quicker. I have one more to make the set.
 |
| The finished cornhole board. |
The theme of the next board is New Horizons, the current mission set to fly by Pluto in July and take pictures. I'm anxiously waiting to see those close ups. Both because I think they will be awesome and so I can start designing the board.
Wednesday, June 24, 2015
Mars Cornhole Board Process Part 3: Finished Drawing
The Final Drawing... This is where I did the research: built models, watched documentaries, read articles, studied reference pictures, asked lots of questions and tried to get everything pretty accurate. Although in the end I kind of just had to make some decisions and simplify a few things.
After completing the tonal and color comp, I took the thumbnail drawing to Staples (before I painted over it) and had them print it out the size of the cornhole board on some cheap paper. I covered the back in pencil and transferred this to the board.


 |
| An Atlas rocket model, a painted soapbox for the tower, a mars/ rocks model I built from Sculpey and aluminum foil, and a cut out of the rover's back panel on a stylus. |

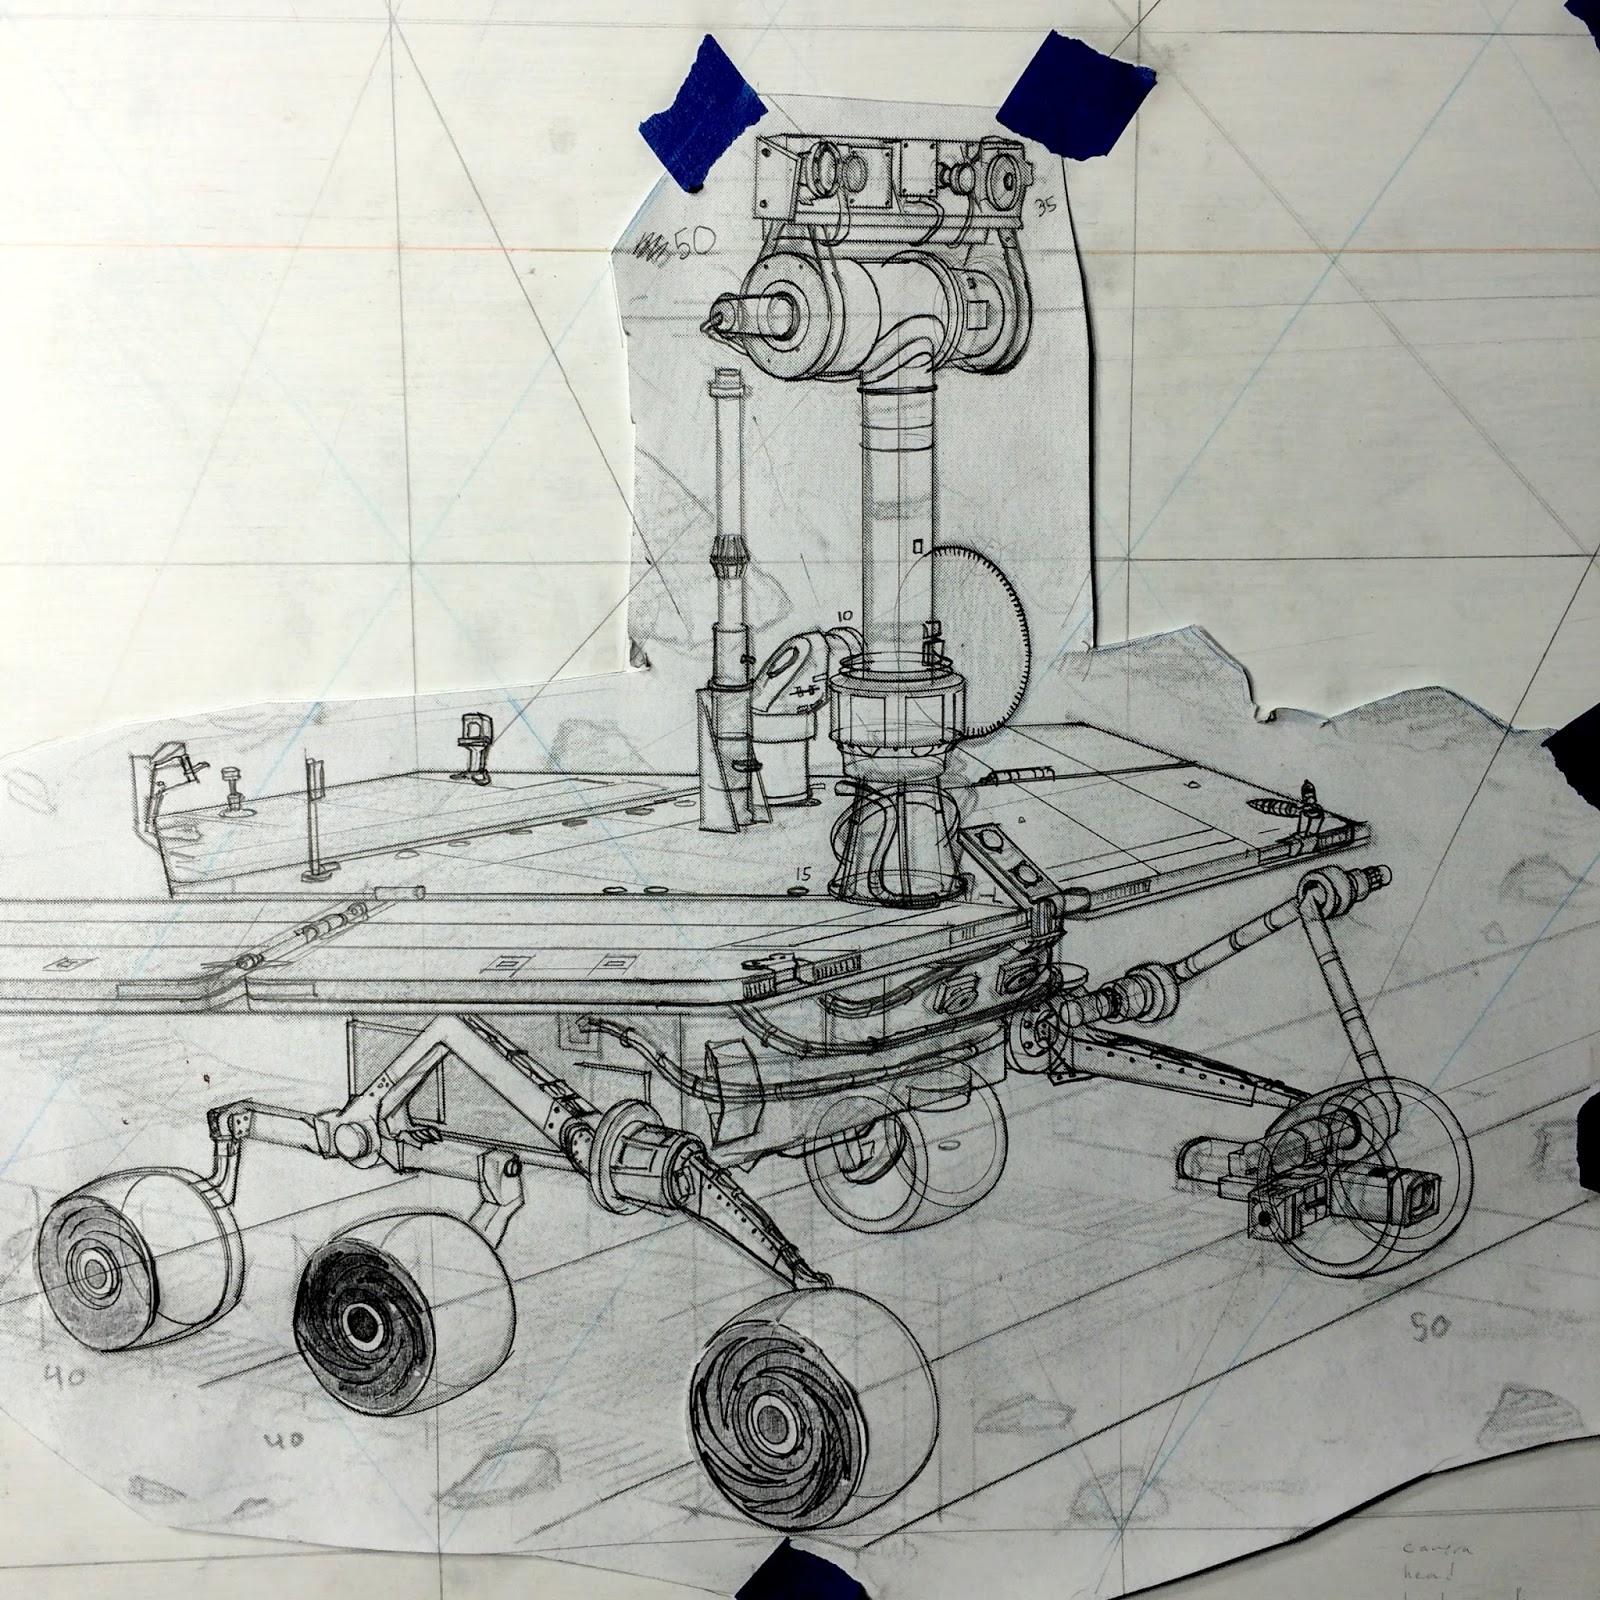
I cut around the rover and rocket because I had to redraw everything else like the rocks and smoke. And of course I had to add all the details on the rover and rocket/ launch pad, so I just drew all of that on top of the printed drawing with ellipse guides, rulers, french curves, a T-square and a whole lot of coffee.
 |
| The finished drawing on the cornhole board. |
But even after you transfer it down, you kind of have to redraw it again to darken it a little more. Otherwise it's too light.
This part took me awhile. It can get pretty monotonous, but it's also kind of fun because you finally start seeing some details.
Tuesday, June 23, 2015
Mars Cornhole Board Process Part 2: Color and Tonal
After deciding on the overall layout and finishing a semi-detailed drawing of it, I painted a few color sketches, the biggest one being done directly on top of that drawing. I kind of used this as my working color guide while I painted the final version.

I knew I wanted to try and stay within a certain color gamut (which is something I had never done before) so I didn't experiment too much with what colors I used for the whole. But I did experiment on each individual part, like the smoke. I must have repainted it like 7 times. So this one painting (the bigger one) represents about 10 little experimental paintings.

I also chose to paint this large to get a little more practice with oil paint. I wanted to try out a few things before going to the giant 2 by 4 ft. cornhole board. After a certain point though, I didn't bother too much with it. I got what I wanted, so there was no point in adding details or fixing small mistakes.
At the same time I was working on the color guide, I was working on the tonal guide too. I did it digitally because I knew I'd be changing it a lot.

In the end I didn't follow either one of these exactly for the finished painting. They were incredibly helpful though.
Monday, June 22, 2015
Mars Cornhole Board Process Part 1: Thumbnails
I was commissioned to design a cornhole board with the theme centered around the mission that sent the Opportunity rover to mars. In the beginning we weren't entirely sure what that should include. It was initially just going to be the Delta rocket and Mars in the background. It later changed to include Opportunity as well.
I started off with a lot of little pen and marker sketches. I also did a lot of planet studies in oil, just playing around with different textures and mediums and brushes etc.
 |
| Mostly pen and sharpie sketches. Some oil studies too. |
After a few dozen of those, I brought it into Sketchbook Pro and did some super rough tonal/ color thumbnails, just to get a little more mood into it. But nothing is final here or detailed at all.
 |
| Putting a little tone and color in |
 |
| Some of the weirder ones. |
After we settled on the layout, I did some research and worked up a slightly more detailed drawing of the whole thing.
 |
| The final layout 9 x 18 in. |
Friday, December 12, 2014
White Whale Process Video
I always like seeing how other people go about painting and what their process is. No matter what level they're at, it's still interesting. Paying attention to and documenting the process behind a painting helps me remember what to do or what I should never do again.
Instead of posting a bunch of pictures and talking about them, I just made this little slideshow of some earlier sketches and process shots. There's some music I wrote in the background too.
Tuesday, September 16, 2014
Earlier sketches of the "White Whale" painting.
These are some of the earlier sketches I made before I painted the painting from my last post.
 |
| The first time the idea showed up in my sketchbook. |
 |
| a little more complicated thumbnail (with a lot of changes). |
 |
| another little sketch. |
 |
| Some Pine Tree studies from my backyard. |
 |
| the "almost finished" final drawing, I added the mushrooms and took out the rocks later. |
 |
| a little model I made out of Sculpey to help me picture it better. |
And if you just scroll down you should be able to see the finished picture.
Tuesday, August 26, 2014
Octopus Cornhole Board
 |
| The final drawing with some digital painting on top. |
So for the second Cornhole Board I was asked to make, I was basically told to have the Octopus sort of reaching for the hole, coming out from the corner of the board.
 |
| Ink and wash on some watercolor paper |
 |
| a really small oil painting. |
I made an entire folder full of octopus sketches. Apparently I had no idea what an octopus looked like until i started researching it.
After I finished the final drawing (which took awhile), I went to Staples and had them print it out on a huge piece of paper, the same size as the cornhole board. I covered the back in pencil and then traced it straight onto the board.
 |
| The final drawing. about 2.5 x 5 in. |
 |
| The final drawing blown up and getting traced down to the board. |
And then of course I painted on top of that for about two weeks...
 |
| This is me, probably ruining my back with that posture. |
And here it is finished.

Sunday, August 17, 2014
Angler Fish Cornhole Board part 4
I decided to take a quick break and just kind of paint a little angler fish for no specific reason. It was more of a sketch I guess. Just for fun. Thats what this guy is. I used ink and wash.
But then I went back to the cornhole board...
These also helped me get used to the oil paint a little more. Or at least they were suppose to.

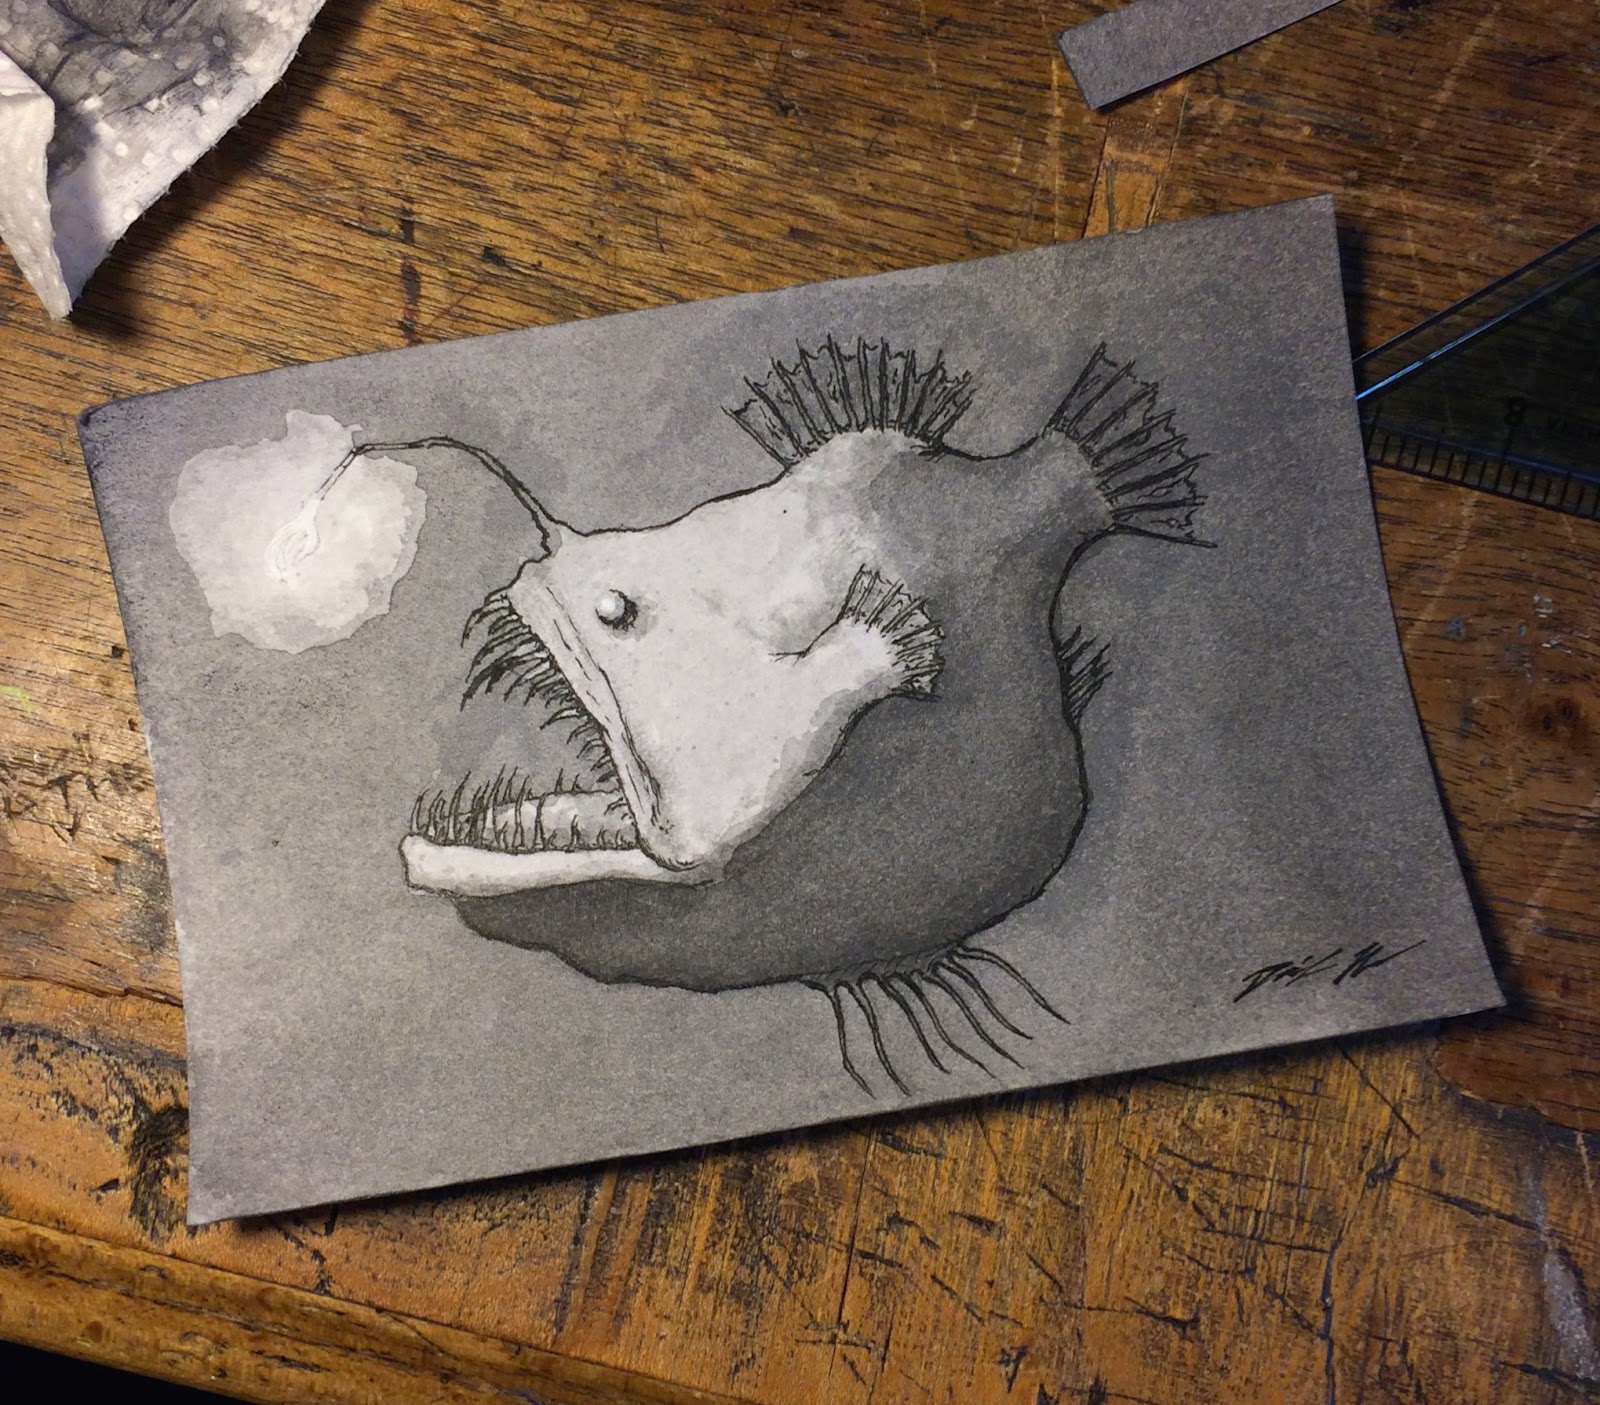 |
| Just a little painting for fun. |
But then I went back to the cornhole board...
I had to figure out what colors I wanted to use, so i did a few smaller paintings just to try things out. I kept it almost monochromatic because I really don't understand colors at all and i was afraid it would get to be too complicated when I was having enough trouble already.
So here are the much smaller practice paintings in oil.
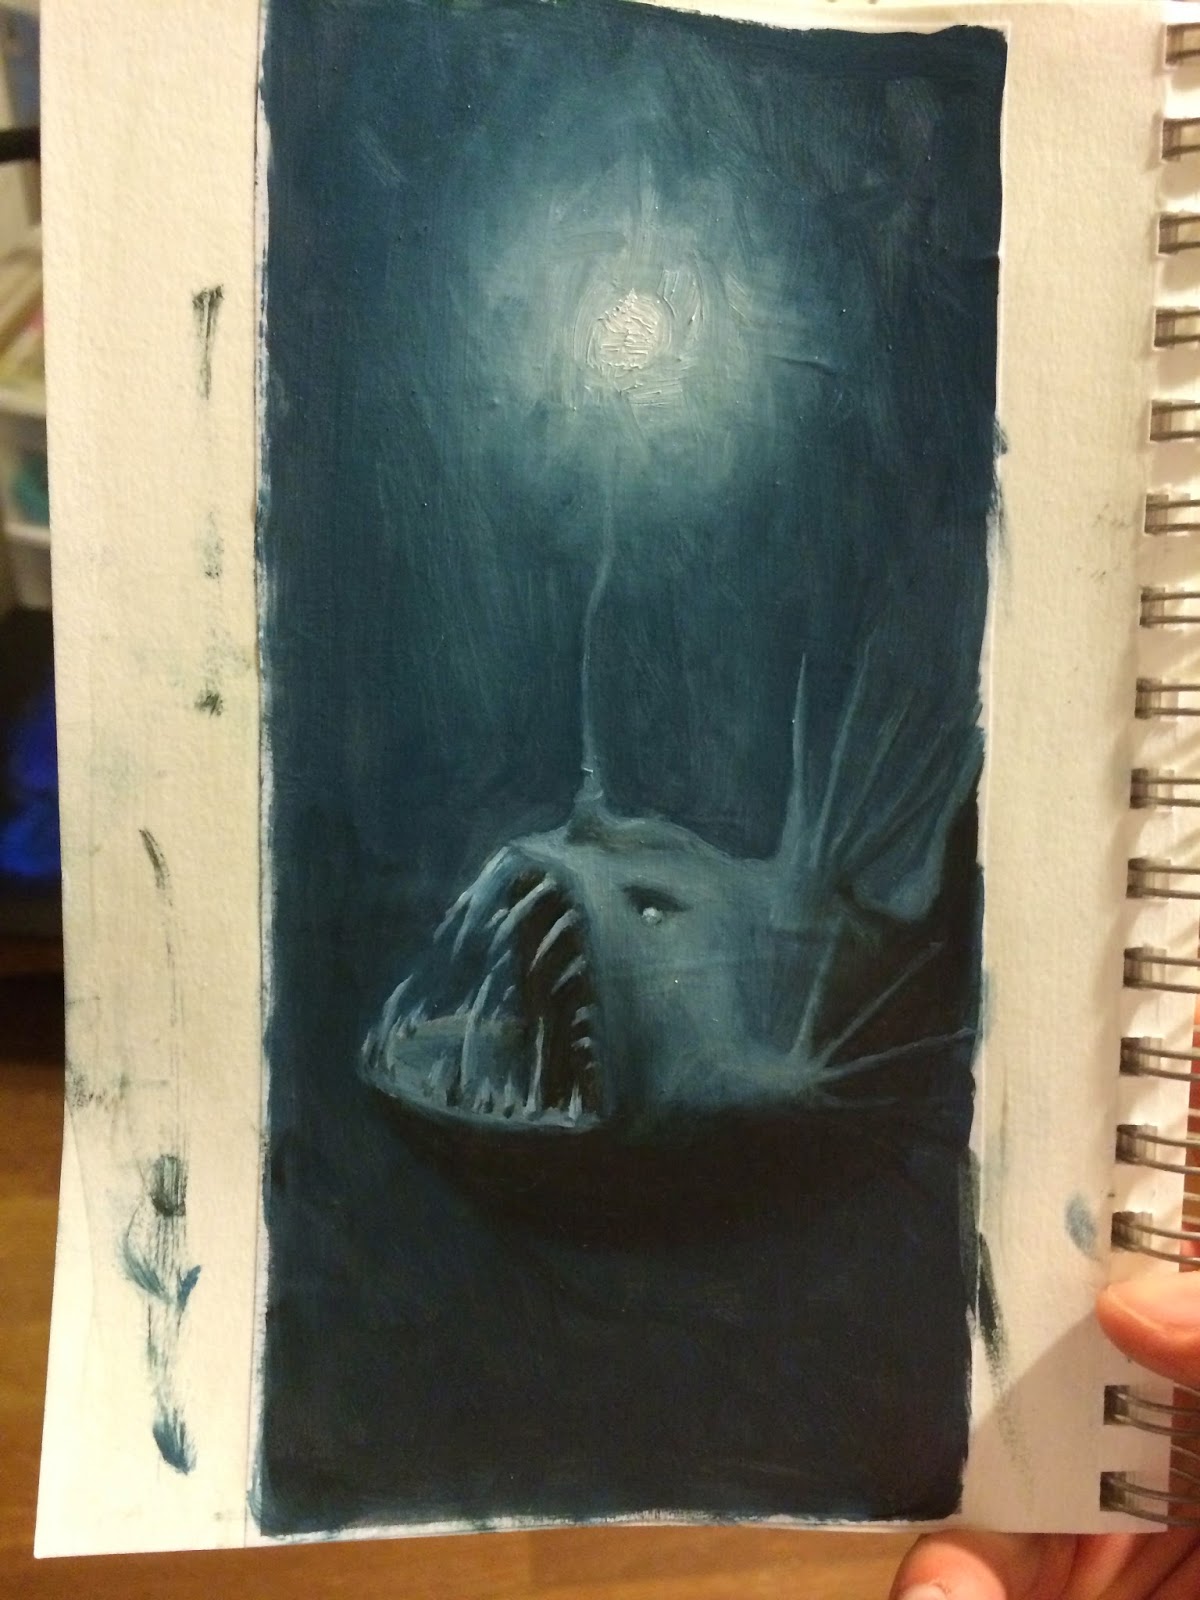 |
| about 6 inches tall. |
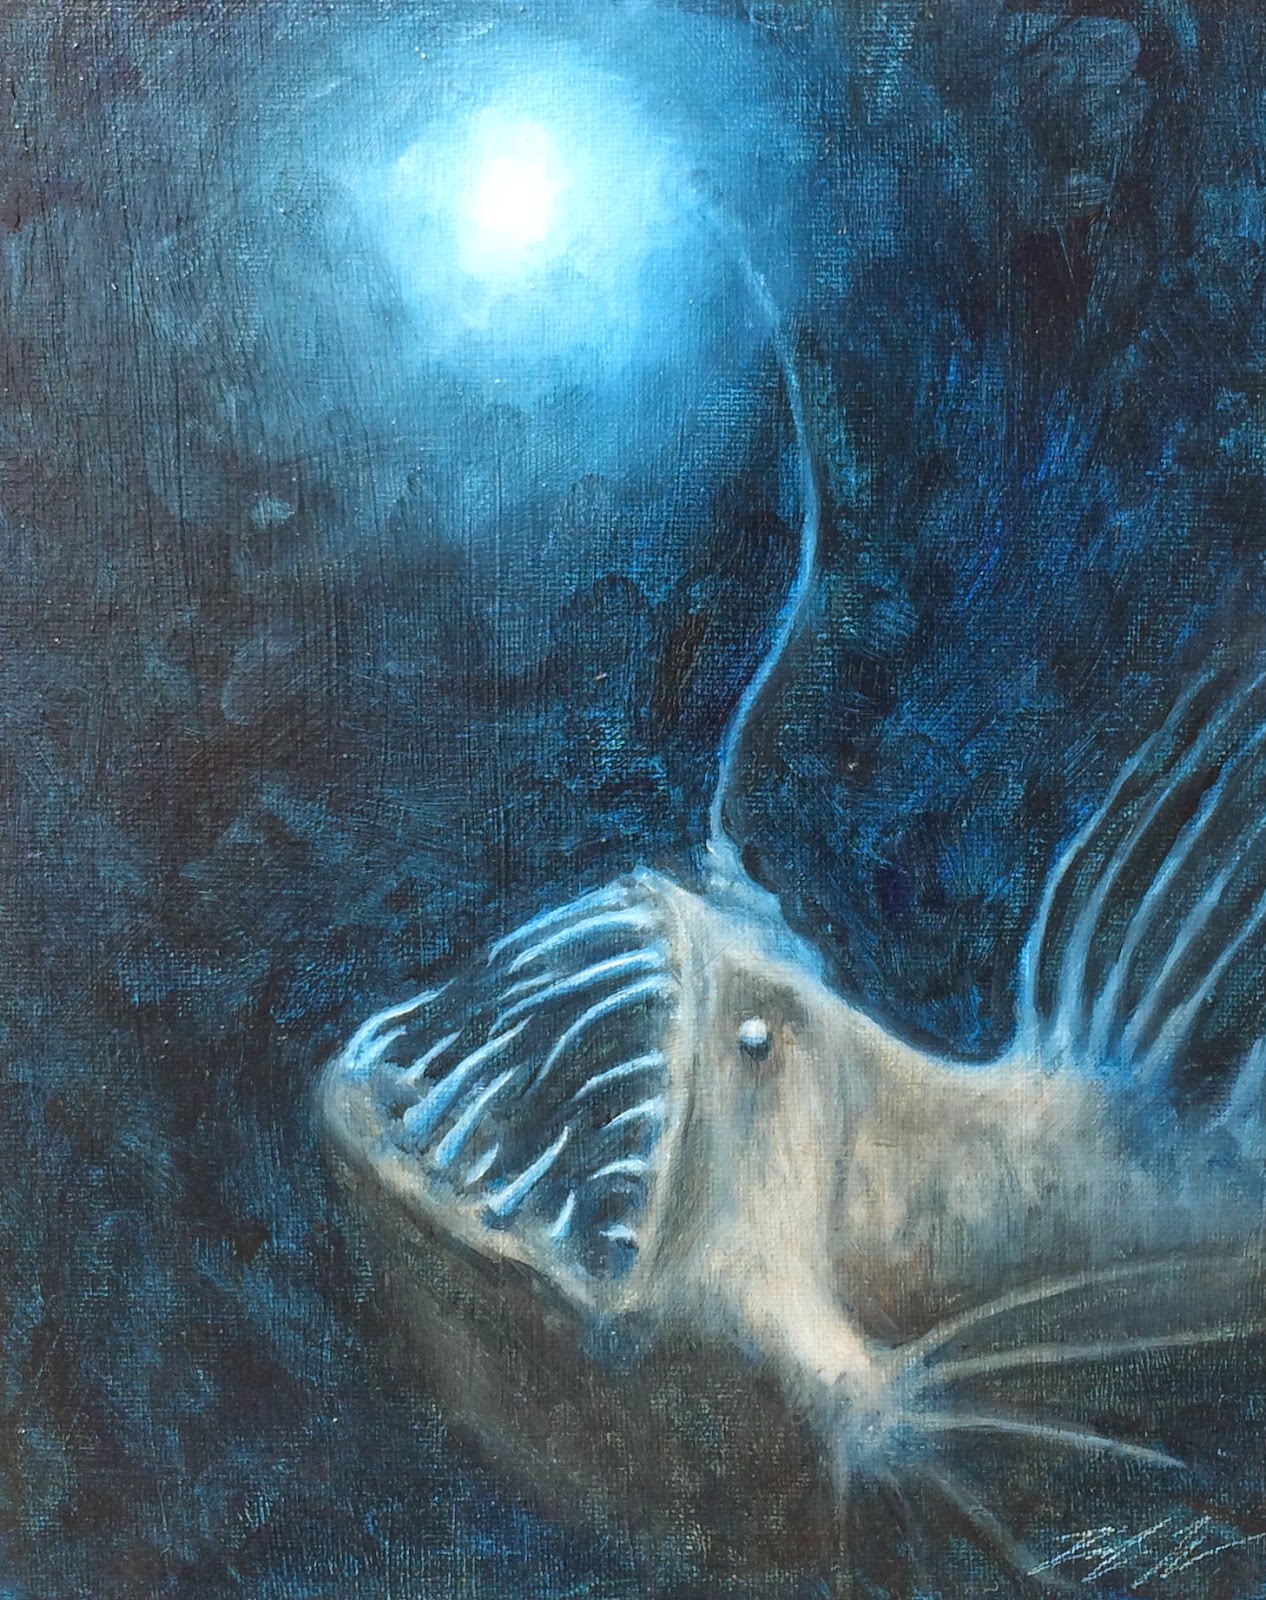 |
| about 12 inches tall |
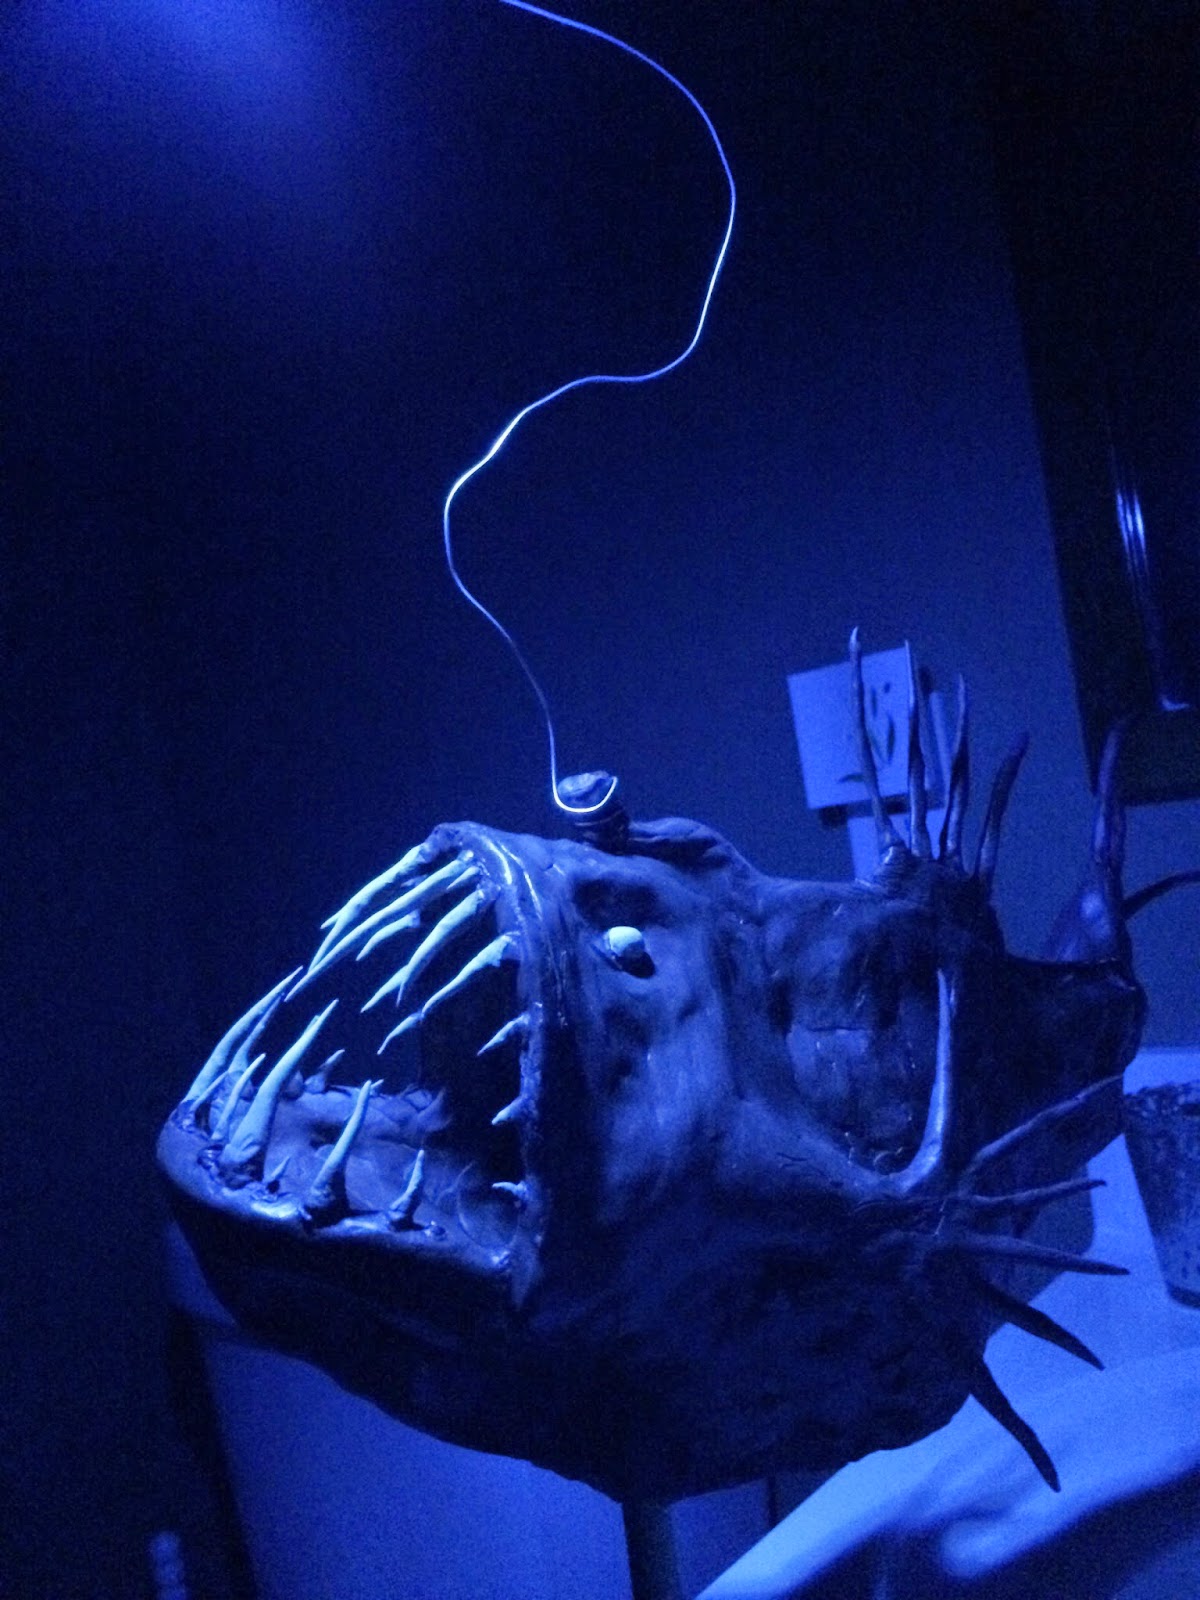 |
| One of a few reference photos I used. |
After realizing I couldn't put off the final painting forever, I did the finished drawing that had to be transferred directly to the cornhole board.
So this was scaled up and drawn straight onto the board. Which I painted over on top of. And then... After painting for a few weeks (which actually seemed like decades) The painting was finally finished... And that was that.
 |
| The finished drawing |
Here's the finished painting again, incase you missed it in Angler Fish Cornhole Board part 1.
Of course, finishing this only meant I was halfway done lol... So stay tuned for the octopus board coming up next!
Subscribe to:
Posts (Atom)